
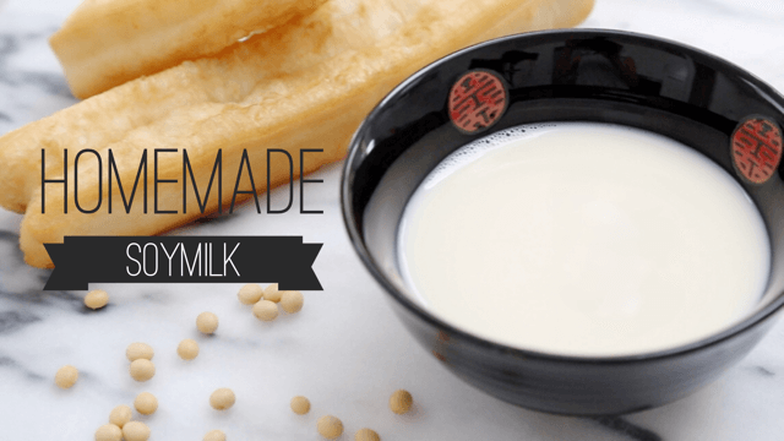
Homemade soy milk is one of the easiest and healthiest plant-based milks you can make, especially with a powerful blender like a Vitamix. You only need dried soybeans, water, and a simple straining setup. The result is a fresh, creamy soy milk that’s naturally dairy-free, high in plant protein, and perfect for anyone who is lactose intolerant.
Below, you’ll learn the nutritional benefits of soy milk, why it’s great for digestion and lactose-intolerant individuals, and how to make a customizable batch using your Vitamix at home.
Why Soy Milk Is Great for Lactose-Intolerant People
Soy milk is a popular dairy alternative for good reason:
-
Naturally lactose-free – Soybeans contain no lactose, making soy milk easy to digest for people who experience bloating, stomach discomfort, or nausea after drinking cow’s milk.
-
High in plant-based protein – Soy is one of the richest vegan protein sources, with all essential amino acids.
-
Creamy and versatile – Its texture is comparable to dairy milk, making it ideal for drinking, cooking, or adding to coffee.
-
No cholesterol & low saturated fat – Supports heart health and overall wellness.
If you struggle with lactose intolerance, homemade soy milk provides all the texture and comfort of milk—without the digestive issues.

Soy Milk Nutrition (Per 1 Cup Serving)
Homemade soy milk varies slightly depending on how much water you add, whether you remove the okara, and your cooking method. However, general nutritional values are:
- Calories: ~100
- Protein: ~7 g
- Fat: ~4 g
- Carbohydrates: ~8 g
- Fiber: ~1 g
- Sugar: ~6 g (from natural soybean carbohydrates)
Soy milk is also a natural source of:
- Vitamin A
- B Vitamins
- Potassium
- Folate
- Choline
Store-bought soy milks are typically fortified with calcium, making them beneficial for bone health and reducing the long-term risk of osteoporosis. If you prefer fortified nutrients, you can supplement your homemade soy milk by pairing it with a calcium-rich diet.
A Note About Isoflavones
Soy contains natural compounds called isoflavones. Some early research suggested potential impacts on thyroid function, but these concerns are inconclusive. As long as you consume enough iodine, soy milk does not show significant negative effects on thyroid health.
However, anyone with a soy allergy should avoid soy milk entirely.
How to Make Soy Milk at Home Using a Vitamix
Making soy milk from scratch takes only a few ingredients. With a Vitamix, the blending process becomes faster, smoother, and more efficient.
Ingredients & Equipment
- 1 cup dried soybeans
- 6–8 cups water (for blending and soaking)
- Optional flavorings: sugar, honey, maple syrup, vanilla extract, or a pinch of salt
Equipment
- Large bowl for soaking
- Vitamix blender
- Large pot (preferably heavy-bottomed)
- Fine-mesh strainer or colander
- Nut milk bag or layered cheesecloth
- Potato masher or pressing tool (optional)
Step-by-Step Guide
1. Soak the Soybeans

Rinse 1 cup of dried soybeans. Place them in a bowl and cover with plenty of cold water.
Soak 8–12 hours or overnight. The beans will triple in size.
Drain and rinse thoroughly before blending.
Flavor Tip:
-
Longer soaking = stronger beany flavor
-
Shorter soaking or dehulling = milder taste
2. Blend the Soybeans in Your Vitamix
Transfer the soaked beans into the Vitamix.
Add about half of your blending water (e.g., 4 cups of water if using 8 total).
Blend on high speed until completely smooth and creamy.
Do this in batches if necessary.
3. Strain the Soy Milk
Line a strainer or colander with a nut milk bag or multi-layered cheesecloth.
Pour the blended mixture through the cloth into a large pot.
Gather and twist the cloth tightly to squeeze out as much liquid as possible.
Don’t throw away the pulp!
The leftover bean pulp is called okara, and it’s excellent for:
- Veggie burgers
- Muffins
- Stir-fries
- High-fiber baking

4. Cook the Soy Milk (Important!)
Raw soybeans contain compounds that must be heated to make the milk safe and pleasant to drink.
Place the strained liquid in your pot.
Heat over medium and stir constantly to prevent scorching.
Bring to a boil—be careful, soy milk foams easily.
Reduce heat to low and simmer 10–15 minutes.
Skim foam or yuba (skin) if desired.
Cooking helps remove the beany flavor and improves digestibility.
5. Flavor and Store
Remove from heat and add your favorite flavorings:
- Vanilla
- Honey or maple syrup
- A pinch of salt
Let cool completely, then store in airtight jars or bottles.
Shelf life: 3–5 days in the refrigerator.
Shake well before drinking, as natural separation is normal.
How to Control Flavor, Texture & Nutrition
Soy milk is highly customizable. A few adjustments can dramatically change its taste and consistency.
Flavor Strength
More beany flavor:
-
Longer soaking
-
Skip dehulling
-
Shorter cooking time
Milder flavor:
-
Dehull the beans before blending
-
Shorter soaking times
-
Longer cooking
-
Hot alkaline soaking reduces beany taste (8–16 hours recommended)
Texture & Creaminess
Creamier:
-
More soybeans per batch
-
Less water
-
Longer cooking
-
No dehulling (preserves fat content)
Lighter:
-
Use more water
-
Shorter cooking time
Nutrient Density
For higher protein and fiber:
- Don’t dehull the soybeans
- Incorporate some or all okara back into the milk
- Longer soaking boosts protein, fat, and carbohydrates
- Soaking at 25°C yields more nutrients than at 40°C
Color
- Whiter milk: dehull the beans
- More yellow: longer soaking
Manufacturing-Style Recommendation
A study on soy milk production suggests:
- 8 hours of soaking
- At 40°C
This is a balanced method for both flavor and nutrition and is easy to replicate at home.
Delicious Soy Milk Variations

Sweet & Flavored Versions
-
Vanilla Soy Milk: Add vanilla extract + honey or maple syrup
-
Chocolate Soy Milk: Mix cocoa powder + sweetener into cooled soy milk
-
Black Sesame: Add black sesame powder for a nutty, aromatic flavor
-
Spiced Soy Milk: Stir in cinnamon, nutmeg, or cardamom
-
Peanut Soy Milk: Blend peanuts into powder to make a strong peanut butter flavor
-
Fruit Flavored: Blend cooled soy milk with strawberry, mango, or other fruit purées
Richness Adjustments
-
Creamier: 4 cups water
-
Lighter: 8 cups water
Use your Vitamix to fine-tune the consistency until it’s exactly how you like it.
Final Thoughts
Making soy milk at home with a Vitamix blender is simple, customizable, and cost-effective. You have full control over the sweetness, texture, and flavor, allowing you to create a version that suits your taste and dietary needs. Whether you’re lactose intolerant, exploring plant-based options, or simply enjoy fresh homemade beverages, soy milk is an easy recipe to incorporate into your kitchen routine.
Once you master the basic steps, you can easily adjust bean-to-water ratios, soaking times, and flavor variations to create your perfect batch. From classic vanilla to chocolate, black sesame, or fruit-infused versions, homemade soy milk is versatile and enjoyable in drinks, cooking, and baking.

At Chefco, we offer a full range of Vitamix commercial blenders and replacement parts to help you achieve the smoothest, creamiest soy milk every time. Whether you’re preparing beverages at home or in a commercial setting, Chefco’s selection of Vitamix equipment provides the power and durability you need for consistent, high-quality results. Explore our Vitamix collection to elevate your drink-making experience.
